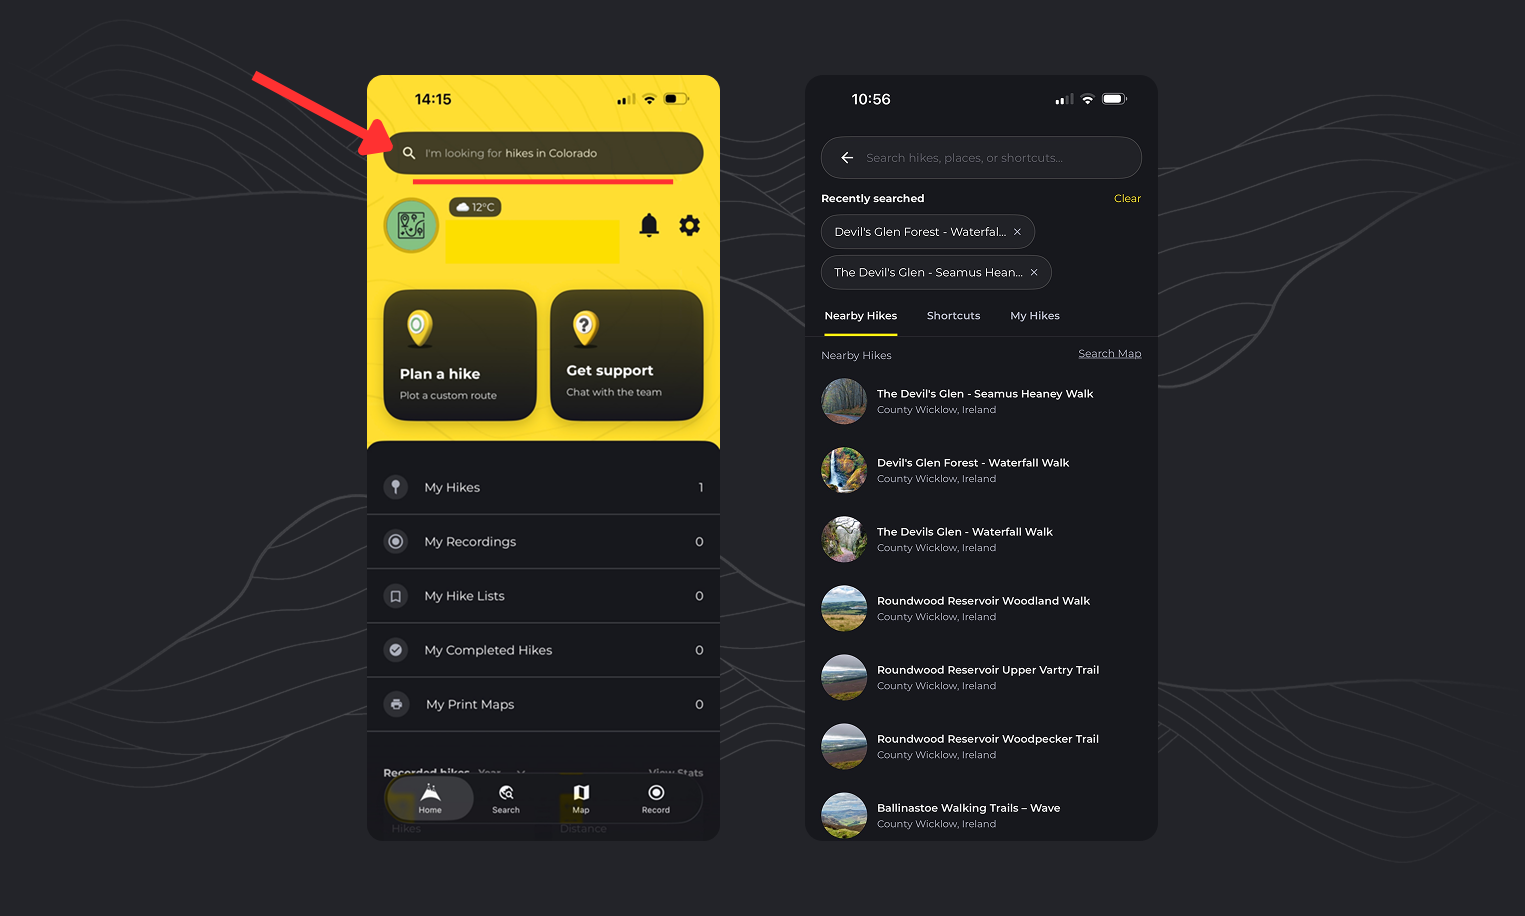
There are a few ways to search for new adventures on HiiKER.
Home page Search
From the Home page, tap on the search bar at the top of the page. from here you can search for:
- Over 120,000+ HiiKER hikes by name
- Your own saved, created, recorded and completed hikes by name
- Points of interest and surrounding hikes
- Your hike lists
- Your print maps
- App shortcuts to quickly get to what you are looking for (i.e. Create a hike, My hikes, Account management, customisations, etc.)

How to search via the explore map on HiiKER
- Tap on the Search tab to open the Search map
- Move the map to a location that you wish to hike and you will see icons representing hikes in the area.
- The bottom sheet will update with results for hikes in this area to, you can swipe up on this list to show all of the hikes in this location.
- To find hikes more specific to your wants and needs, you can apply filters via the options under the search bar, e.g. Type, Distance, Difficulty, Rating, etc.
- For example, if you were looking for Easy, Looped trails in the Lake district, move the map to the lake district, set the Type filter to “Loop” and set the difficulty filter to “Easy”. The bottom sheet will now read X “hikes in the area”, swipe up to view them all.
How to find a trail on HiiKER?
To find a trail on HiiKER tap the search bar and enter the name of the trail you are looking for, or a location that you wish to hike in.
You can also tap the “Search” tab, where you can find trails on the map.
How to find a hike on HiiKER?
To find a hike on HiiKER tap the search bar and enter the name of the hike you are looking for, or a location that you wish to hike in.
You can also tap the “Search” tab, where you can find hikes on the map.
How to search for your own recordings
To find for your recordings by name tap the search bar and enter the name of the recording you are looking for.
How to search for your own hikes
To find for your hikes by name tap the search bar and enter the name of the hike you are looking for.
How to search for your own planned trails
To find for your hikes by name tap the search bar and enter the name of the hike you are looking for.
How to search for print maps
You can search for your custom print maps via the search. Tap the search bar and enter the name of the printable map
How to search for Hike lists
To find for your hikes lists by name tap the search bar and enter the name of the list you are looking for.
How to search for POIs on HiiKER
POIs can be quickly searched by name on HiiKER via the main search bar, tap the search bar and enter the name of the POI you are looking for. Tapping will bring you to this POI on the map.